This year we went forwards, starting with stone age Celts. The first group to really spark the kids interest was the Romans.
Oob started off saying he was too shy to ask a question, but 30 minutes later, he was still asking the centurion about his weapons!
We spent a little time with Charlemagne's encampment, but the bulk of our time was spent with the knights.
 |
| Explaining to Klenda the field of vision |
We visited a squire from the 1300s, and a knight from the War of the Roses.
He was awesome!

He not only let us try on bits of his armor, but he was the only re-enactor who has
ever been brave enough to let us try his sword!
We spent a looong time with him!
 |
| This was a BRAVE knight! |


His gauntlets were truly works of art: not only elegant, but supremely practical - easily as comfortable and dextrous as my leather driving gloves. He explained that the decorations were there to save his life by showing him to be a man worth ransoming.
We also spent a bit of time with his archers.
We got to try to draw their bows.
Try was the operative word!
The standard bow had an 80 pound draw.
The
beginner's bow had a
60 pound draw, but they also had a bow with a stunning
120 pound draw!
They also had a pouch of arrow heads, something I'm always interested in. We chatted with the bowmen about their arrowheads compared to the Mongol arrow heads I collected as a girl. But Choclo and Oob were done. For an hour and a half they had been fascinated, asking questions and trying things, and now they wanted to go home.
I do understand the "brain full, time to stop." I tried a little "let's relax in the shade and see how we feel" (during which Klenda and Leena went off and visited the WWI Tommys), but they were really done. So we bid the encampment a fond adieu.
And we'll be back next year! This really is my very favorite outing of the year (except maybe shark teeth hunting - I don't know, I'm glad I don't have to choose)!

There weren't many people there this year, which I think was a shame. Because of
Easter, they were moved forward a week and they then coincided with
Maryland Day and a
big STEM conference down on the Mall, as as well as the Boy Scout retreat (in case you were wondering where Mxyl, Zorg and the Emperor were).


 2. Make a dilute solution of black watercolor (or black food coloring) and blot it onto the paper with a wad of paper towels (or a rag). You want just enough in the wad that it isn't quite dripping. Don't wipe! You want it blotchy with some paper showing. The water in the paint will give the paper a stone texture as well as color.
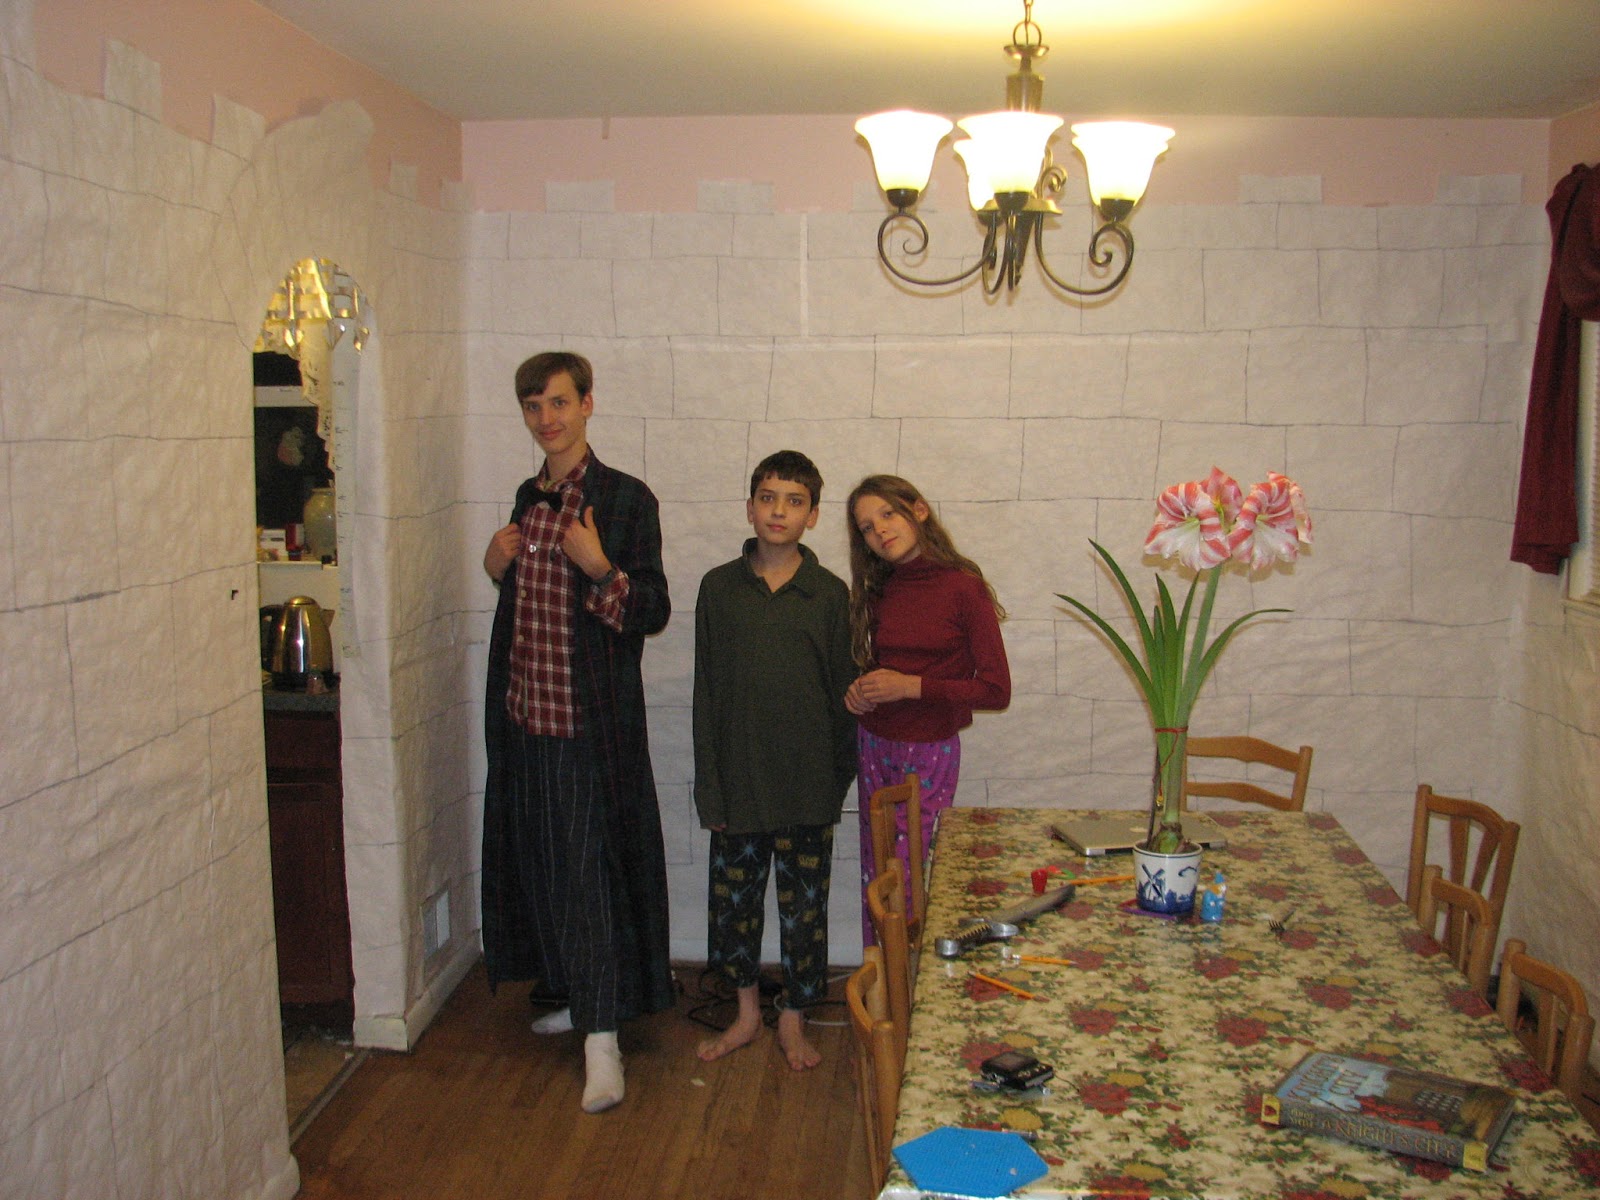
 4. Draw in the stone. I used a broom stick marked in sections to keep my horizontal lines even. I like to make the lower courses larger than the top ones to give an illusion of greater height. I penciled the stone in before we painted, and then the Zoomlians traced the lines with gray marker, but it could be done more simply here in one step.
 5. If you have a doorway, you can put in a portcullis! Ours is cut out of folded up layers of foil and is entirely decorative (it doesn't move). If you figure out a way to make a functional portcullis, we'd love to hear about it!