

We like round arches over doorways.
 2. Make a dilute solution of black watercolor (or black food coloring) and blot it onto the paper with a wad of paper towels (or a rag). You want just enough in the wad that it isn't quite dripping. Don't wipe! You want it blotchy with some paper showing. The water in the paint will give the paper a stone texture as well as color.
3. After it dries, tape the seams (paper to paper).
 4. Draw in the stone. I used a broom stick marked in sections to keep my horizontal lines even. I like to make the lower courses larger than the top ones to give an illusion of greater height. I penciled the stone in before we painted, and then the Zoomlians traced the lines with gray marker, but it could be done more simply here in one step.
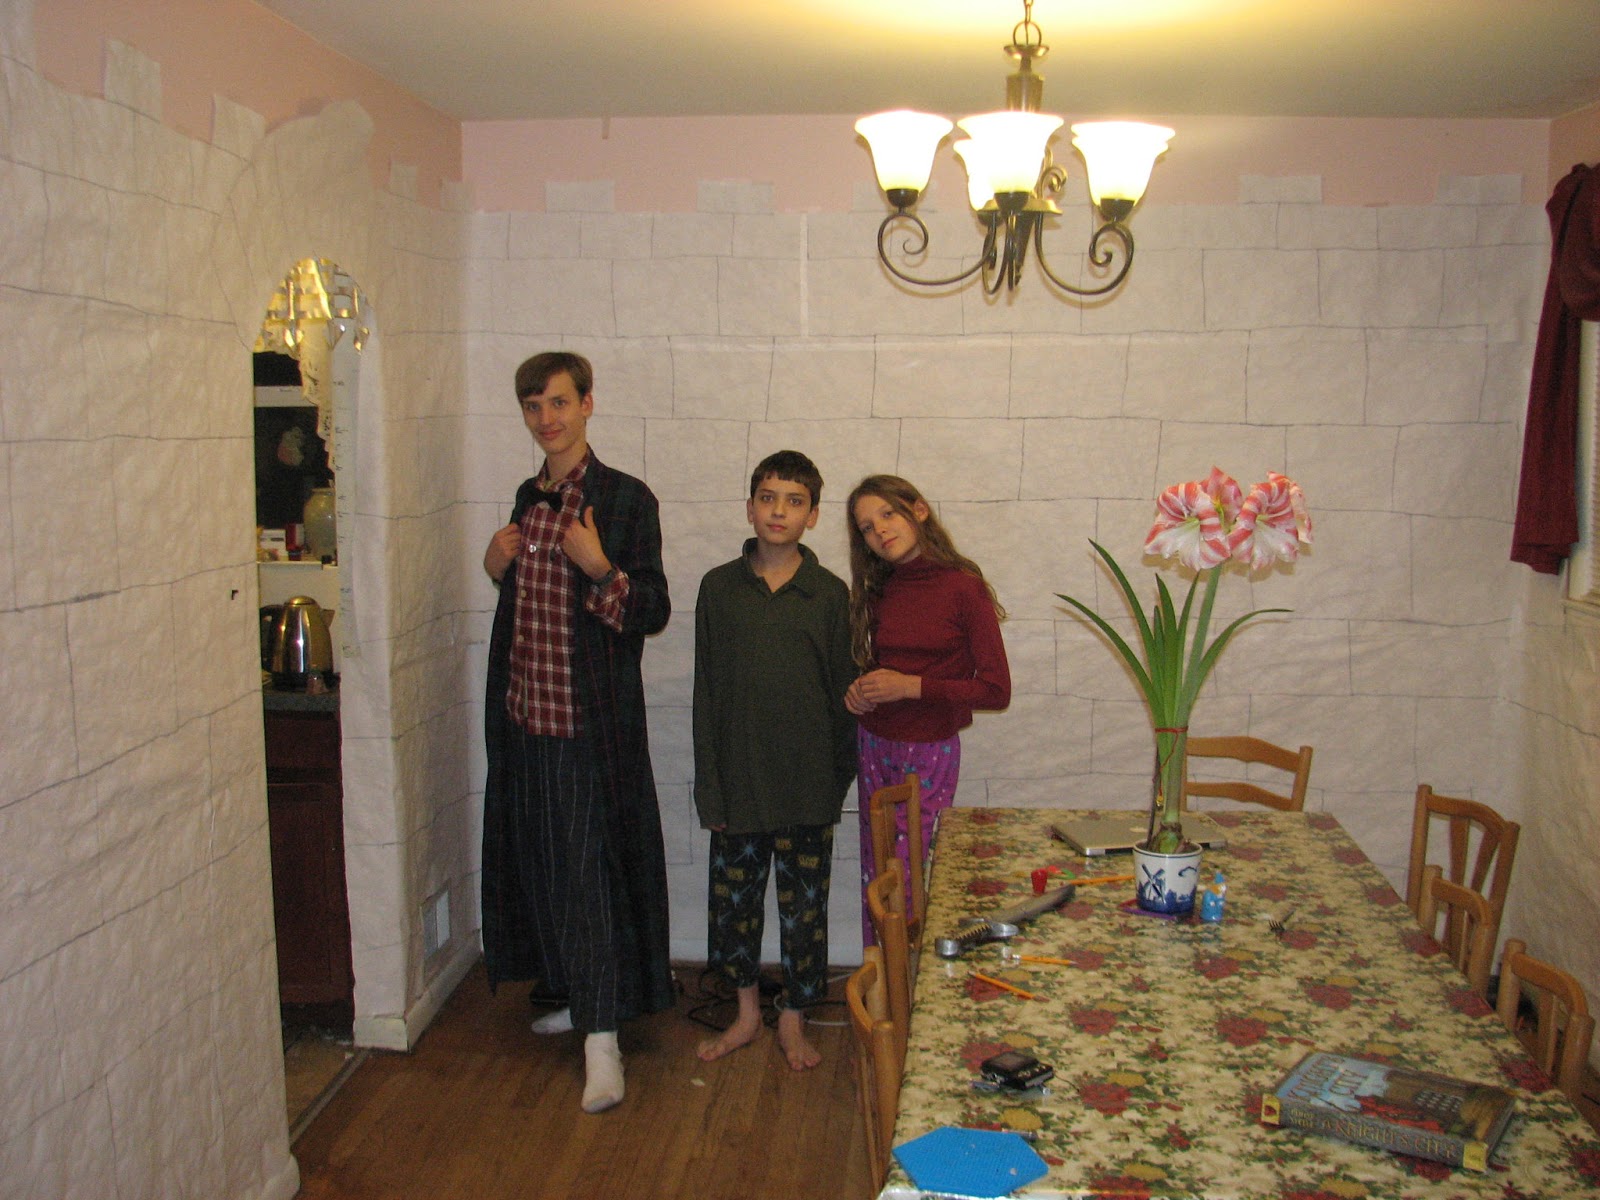
 5. If you have a doorway, you can put in a portcullis! Ours is cut out of folded up layers of foil and is entirely decorative (it doesn't move). If you figure out a way to make a functional portcullis, we'd love to hear about it!
And here you have it: a castle, ready to be adorned with all manner of knightly embellishment!
No comments:
Post a Comment