

For another, massive stars (with their massive gravity), squish hydrogen much faster, so they live less long. They live brighter and hotter, but shorter lives.
Incidentally, the color of the stars is directly related to their temperature. What do you think the
 |
| blue where it's hottest |
And so it is with stars: the coolest stars are red - only about 3000 degrees. Medium hot stars (like the sun) are yellow, about 6000 degrees. The really hot stars are blue and white, and they can be 30,000 degrees! These are all surface temperatures, of course. The core of the star, where the fusion takes place, is much hotter. Our sun had a core temperature of 14 million degrees!
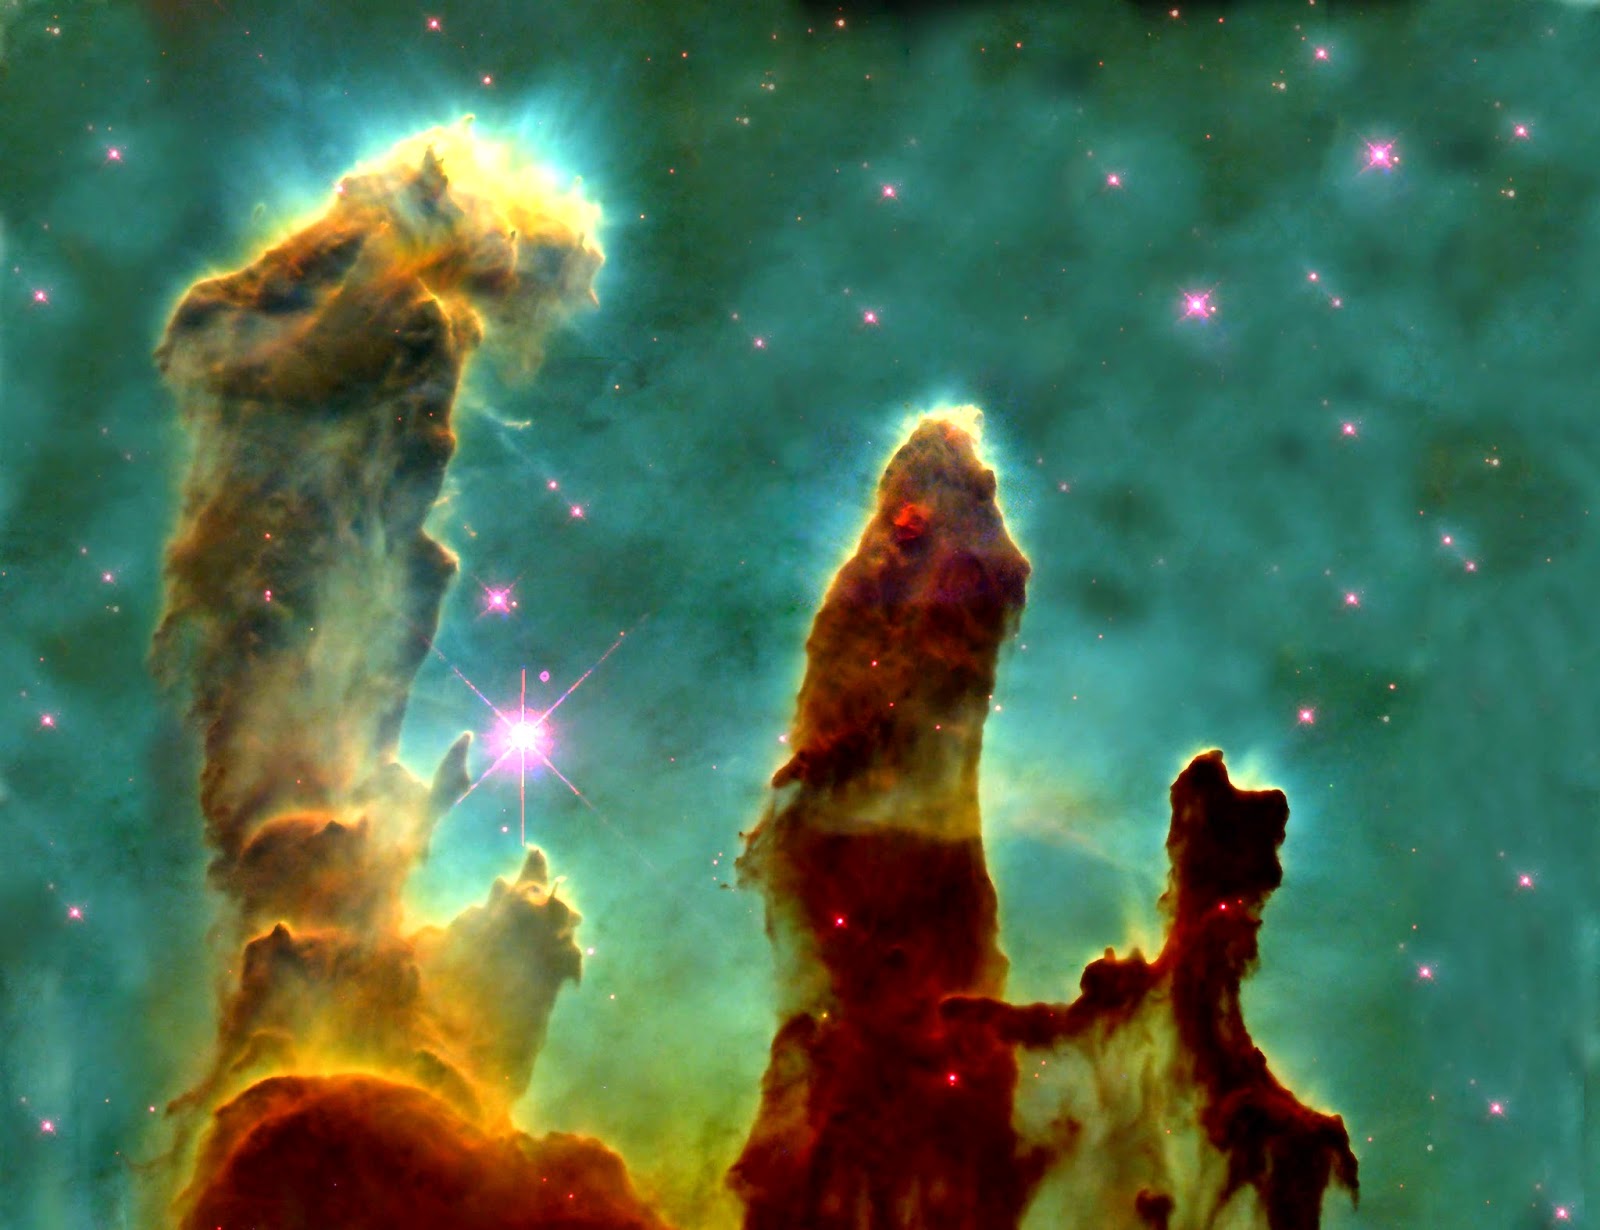 Back to those massive stars, after their hydrogen is helium and their helium is carbon and oxygen, they can go right on squishing! Carbon and oxygen become neon, which gets squished into magnesium, then silicon, then iron. Then the star can't "squish" anymore. It explodes into a supernova!
The explosion tosses off gas and dust into an interstellar nebula... Which then begins to condense into new stars.
 Meanwhile, what is left of the star becomes either a neutron star or a black hole!
I don't know if you've see the wonderful You Tube going around about gravity/ black hole models, but I really wanted one! The best I could do on my budget was to put the stretchiest material I could find over a hula hoop. It's gathered fairly loosely with a rubber band under the hoop.
A small mass (a marble) dented the material in the same way that a small object (like a moon or a planet) bends space around itself. A large mass, like the rock (or star), bent the fabric enough that the smaller mass would orbit around it!
So. We have all these stars, in all these stages of the star cycle, scattered throughout the universe and clumped into galaxies. Most of them are millions of light years away, so how do we study them?
We study their light! With things we want to study here on earth, we put them under a microscope to see their parts. With light from space, we use a telescope with a spectrometer. Believe it or not, building four working spectrometers was in the budget!
 You take a paper towel roll and cut a slit near one end at a 45 degree angle. That slit is where you will put an old CD, or part of a CD (I cut mine into fourths to make four instruments). The CD is going to spread out your light into a spectrum. You also need to cut a rectangular viewing hole above the CD so that you can see that spectrum.
On the other side of the roll, cover the open end with foil. Cut a slit in the foil so that it lines up with the CD. That slit will allow a narrow beam of light into the tube and onto the CD, the CD will spread the light by wavelength, and you will view a column of separated light through the viewing hole on the top. More detailed instructions here (HT: Aurora Lipper)
 |
| Solar spectrum from a professional! |
Amazingly, even our home made spectrometers, we were able to see the black lines in the sun's spectrum! These lines are the elements in the sun itself that absorb certain wavelengths of light. Each star has a pattern of these lines which tell us exactly what it is made of!
We finished up with a brief discussion of constellations. I showed them some flashlight constellations (you put foil over the flashlight, prick the pattern of holes in it, then shine it on the ceiling), how to use a star chart, and lastly, the constellation illusion.
 |
| Not so lined up! |
Then I moved my assistants so that they were at varying distances. From one spot, they still looked like they were all in a straight line, but from every other vantage, they were in a different pattern.
3 comments:
This is all fascinating and I really want to make a spectrometer now. What I'm wondering, though, is . . . surely even the coolest star is thousands of times hotter than the hottest part of the candle. So why is the "cool" star red and the "hot" part of the candle blue?
Wow, good question Queen of Carrots. I'll be watching for the answer!
I wonder if I can put Zoomtimes on my homeschool portfolio...
:)
Yes! I was over simplifying!
When you look at the candle flame colors, you're really seeing two color effects. One is the temperature, the other is the elements it's actually burning.
Take the example of a wood fire. Most carbon burns with a yellow orange flame (very much like the candle flame), but if you throw in those "magic" coated pine cones, the flames turn blue and green because you've actually added copper compounds which burn with those colors.
Plain carbon will be basically yellow-orange, but within that flame, the hottest part will still burn blue, and the cooler edges will look red.
Since stars are mostly composed of the same elements (mostly hydrogen and helium), you can safely gauge their temperatures by the colors.
Post a Comment